Moreover, you can change the system files and enhance the key elements of your phone. Additionally, you can get total control over the entire Android system. Besides, you can even remove the pre-installed bloatware apps to free up some memory. However, the only rooting Android phone disadvantage is the security and protection issues. After root, the security-related tools will not work on the rooted phones. In this guide, we’ll root Samsung Galaxy M10, unlock bootloader and install TWRP without PC. Samsung Galaxy M10 is specially designed and priced for the demanding Indian audience. It comes with an absolute modern looking design with an ultra-wide camera and reliable battery.
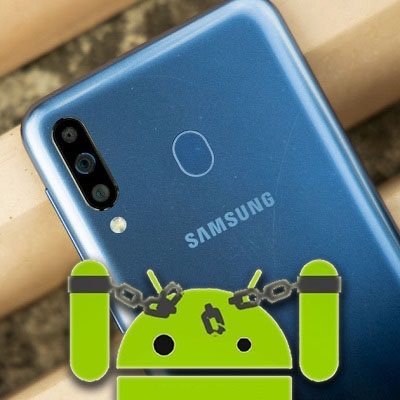
How to Root Samsung Galaxy M10
In this guide, we’ll not Root Android phone without Kingroot, Flashify, or Root master apps. Instead, we’ll use TWRP recovery and flash SuperSU and Magisk zip files. Do you want to flash custom ROM on Galaxy M10? Do you want to install TWRP on Galaxy M10? If yes, then root Galaxy M10 first. Without waiting anymore, let’s go to our guide on how to root Samsung Galaxy M10 without PC given below.
Disclaimer
Rooting will void your phone warranty. Most important, implement the steps at your own risk. We at Droid Thunder will not be held responsible for any damage whatsoever.
Pre-Requisites
Ensure to charge your phone to at least 60%. Enable USB debugging from phone settings. Also, flash the latest official TWRP recovery. For safety, backup your entire phone data including contacts, messages, apps, call logs and notes, etc.
Method 1: Magisk
Here, let’s root using the Magisk file. Let’s get straight into it.
Downloads
Magisk.zip
Steps to Root Samsung Galaxy M10
Switch off your Galaxy M10 and boot it into TWRP recovery mode. To do so, press and hold the Volume Up + Power button simultaneously. Leave both the keys as soon as the TWRP logo pops up. If you are not able to boot the phone into recovery, use the Reboot Recovery app from Google Play Store. As soon as you enter TWRP, click on Install. This will show all the files present on your mobile storage. Simply navigate to the downloaded Magisk.zip file and select it. On the next screen, swipe right to start Galaxy M10 root process. The Magisk flashing process will complete within few minutes. As soon as it finishes, a successful message will appear. To restart your phone, click on Reboot System option. Finally! This is how you can root Samsung Galaxy M10 using Magisk and TWRP recovery. To verify whether your mobile is successfully rooted or not, use the Root Checker app from Google Play Store.
Method 2: SuperSU
Let’s use TWRP recovery and install the SuperSU.zip file to get root access.
Downloads
SuperSU.zip
Steps to Root Samsung Galaxy M10:
Similarly, like Method 1, reboot your phone into TWRP recovery. Click on Install from the TWRP recovery main menu. Navigate and select the downloaded SuperSU.zip file. Simply swipe right to start the SuperSU flashing process. Wait and be patient. As soon as the rooting completes, a successful message will popup.
Conclusion
Finally! You have successfully rooted Samsung Galaxy M10 using TWRP recovery. That’s it. Go ahead and flash custom ROM on Galaxy M10, install the kernel, mods like Xposed framework, etc. If you come across any difficulty or have any problem related to this guide, then inform us through the comments section below. Notify me of follow-up comments by email. Notify me of new posts by email.
Δ