This obviously makes them go for the third-party custom ROMs which gives some extra look and feel to their smartphones. But it’s always difficult to choose the type of ROM which will have many amazing features and customization options. Generally, users prefer the Cyanogenmod ROM which is considered as the most used custom ROM in the android market. Other than Cyanogenmod there are various custom ROMs including Omni ROM, Paranoid Android ROM, AOKP, Remix ROM, and much more. Each of these ROMs individually has its own unique specs and features which makes them different from each other. So if you want the experience the Cyanogenmod features then you need to flash the CM custom ROM, while if you want to experience the AOKP features, flash that ROM. But it will be soon irritating to flash every different ROM again and again to enjoy various unique features. What if we get all the features from every custom ROM in a single pack. Wouldn’t that be awesome! Yes, it is possible to experience the combo pack of features from different custom ROMs in a single ROM. It is known as Resurrection Remix custom ROM. In this guide, we’ll discuss some easy steps on how to install Android 7.1.1 Nougat-based Resurrection Remix custom ROM on a One Plus 3 smartphone.
Install Resurrection Remix ROM on OnePlus 3
Resurrection Remix ROM gives you a unique and breathtaking experience with its huge amount of customization and features especially from Cyanogenmod, AOKP, Omni, PA, and original Remix ROM builds. This ROM has some mouth-watering features which include Substratum theme support, customized navigation bar, customized battery bar. Moreover, it features network traffic indicator, status bar RR logo, customized weather, system animations, gesture anywhere feature, pie control, customized clock widget, lock screen shortcuts, customized quick settings, notification drawer, backlight customization, advanced reboot menu options, System UI tuner, expanded desktop mode, and much more.
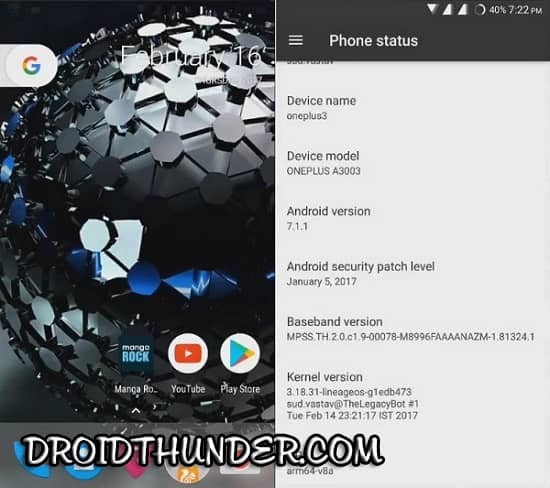
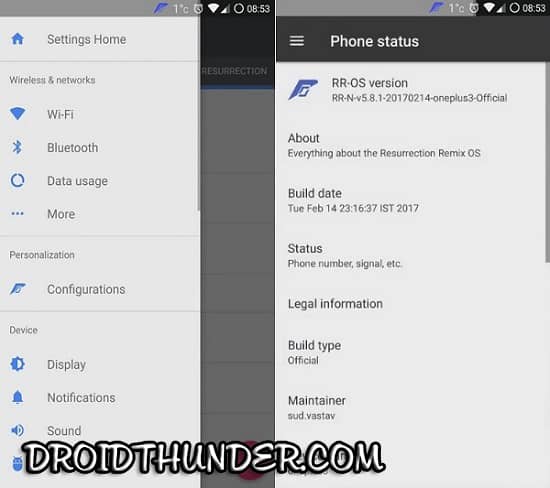
Screenshot
Disclaimer
Perform every single step mentioned below at your own risk. If your One Plus 3 gets damaged or bricked by following this guide then neither we at Droid Thunder nor the developers will be responsible for that.
Compatibility
This Android 7.1.1 Nougat-based Resurrection Remix custom ROM is only for One Plus 3. Do not try to install this ROM on any other phone or variant. It might cause severe damage or even brick your phone.
Requirements
Charge your device to at least 60%, to avoid any interruption. Backup your contacts, apps, messages, etc. for safety. Backup EFS folder present in your phone’s system directory. Besides, install the OnePlus USB drivers on the computer. Enable the USB Debugging mode on your phone. Also, enable OEM unlocking and Advance reboot mode from Developer options. It is necessary to unlock the bootloader of the OnePlus 3. Moreover, Root and install TWRP recovery. (Optional) Temporarily disable all the security-related tools as well as antivirus on PC.
Downloads
One Plus 3 Resurrection Remix Google Apps
Steps to install Android 7.1.1 RR ROM on One Plus 3
Download both the package files in a specific folder on your computer. Do not extract these zip files. Then connect your One Plus 3 to your PC and copy both these zip files on your phone’s internal memory. Safely disconnect your device from computer. Now you need to boot your One Plus 3 into TWRP (or CWM) custom recovery mode. There are actually two different methods for doing that. You may use any one of them: Method 1: Power off your device completely. Then press and hold the Volume down key + Power button simultaneously until you land into custom recovery mode. Method 2: Firstly enable the Developers option in Settings. Then go to Settings→Developer options→and enable the Advanced Reboot option. After enabling that option, simply press the power button to pop up the typical power menu. Then tap on the Reboot option and next select the Recovery mode option. This will directly boot your One Plus 3 into recovery mode without using those key combinations. As soon as you enter into recovery, the first thing you need to do is to take a Nandroid backup. Return to the main menu of recovery and select the Wipe option. On the next screen, tick the Dalvik cache, data, and cache options and swipe to start the wiping process. This step will clear all the data present on your internal memory so make sure you’ve backed up everything before applying this step. After the wiping process completes, again return to the main menu and select the Install option. As you click on it, you’ll see all the files and folders present on your phone’s memory. Just navigate to the Android 7.1 Nougat-based Resurrection Remix custom ROM which you’ve copied earlier and select it. On the next screen just swipe to start the actual Android 7.1 Nougat custom ROM flashing process. Be patient and wait for few minutes until the flashing process completes successfully. As soon as it completes, a successful message will appear on the TWRP screen. Next, go back and again wipe the data/cache partitions as you did earlier. Similarly flash the Google Apps package (containing Play Store, Gmail, etc.) as you’ve flashed the Resurrection Remix ROM. Do not wipe data/cache after flashing the Google Apps. This completes the flashing process. Now restart your One Plus 3 smartphone by selecting the Reboot>System option present on the recovery mode itself. This first boot will take more time to start than usual. But don’t worry as after a couple of boots it’ll be normal.
Wrapping Up
Finally! You have successfully flashed the latest Android 7.1.1 Nougat OS-based Resurrection Remix custom ROM on your One Plus 3 A3003 smartphone. You may confirm the same from Menu > Settings > About Phone. With this beautiful RR ROM you’ll enjoy and experience the combination of performance, customization, and a tremendous amount of features. Do share your views and opinion after using it. Feel free to ask your questions in the comment box below. Credit: XDA Notify me of follow-up comments by email. Notify me of new posts by email.
Δ


