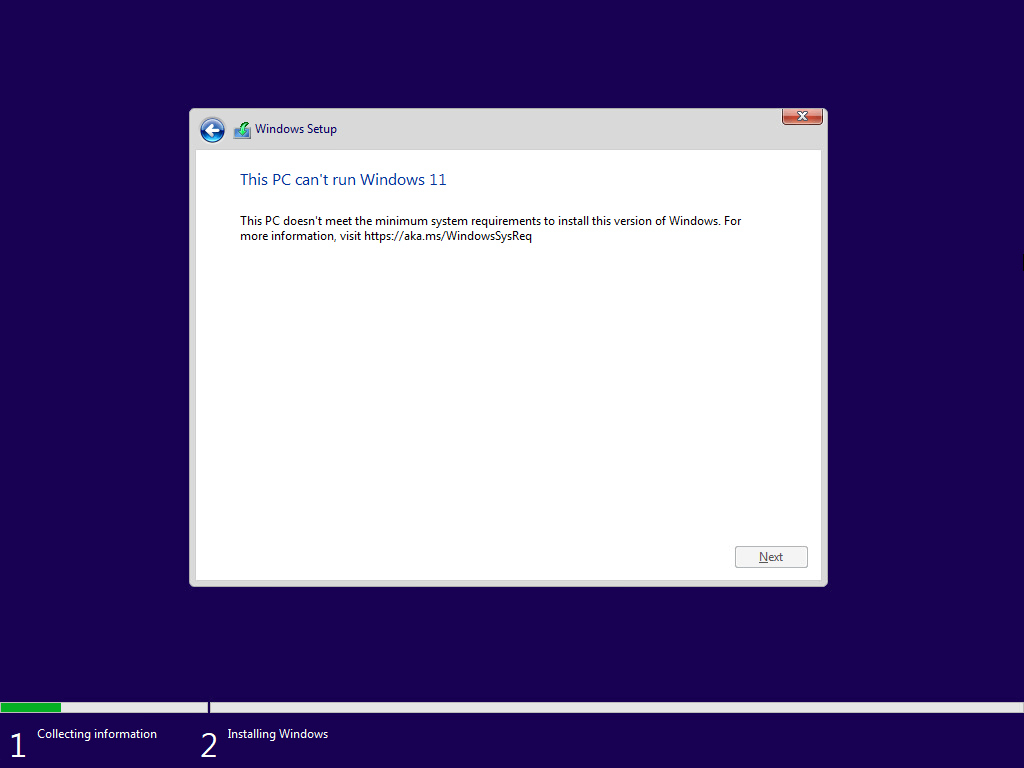
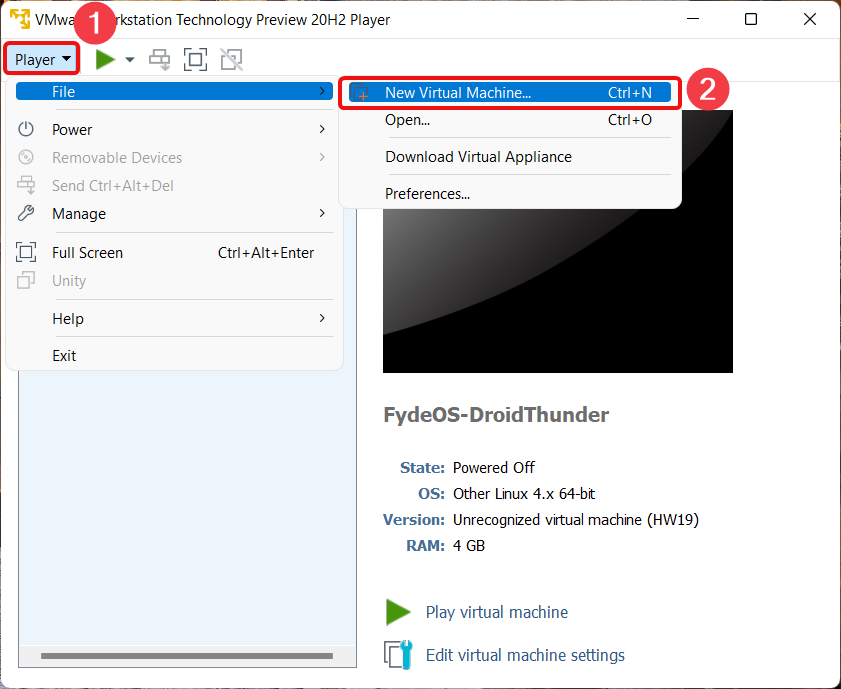
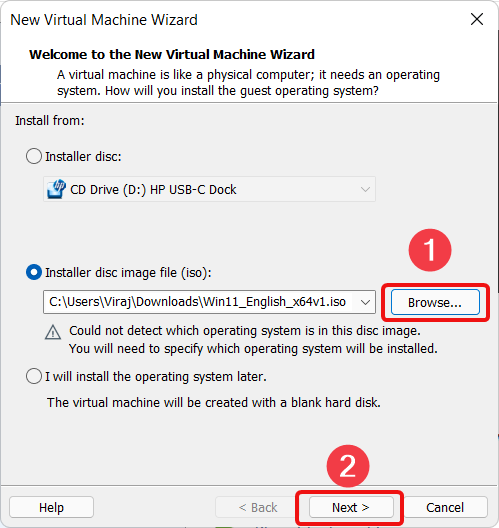
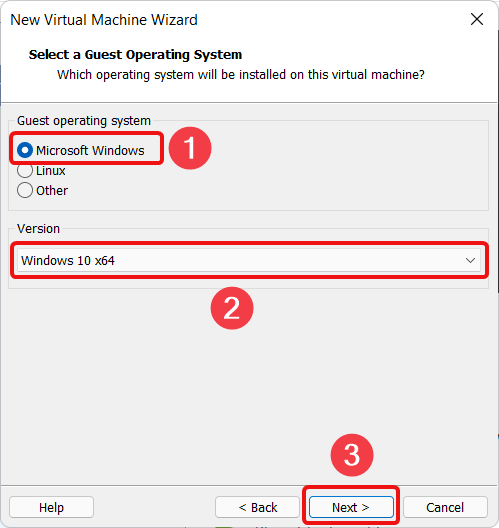
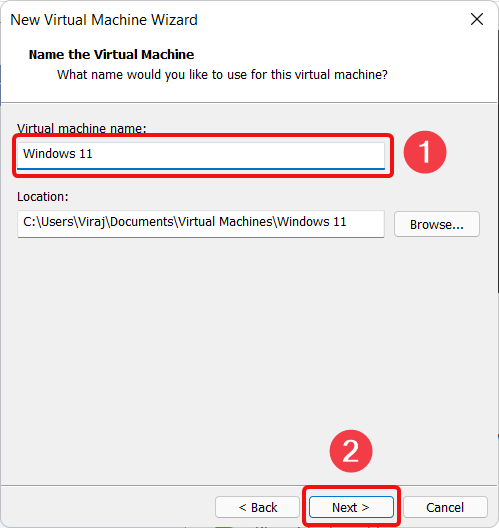
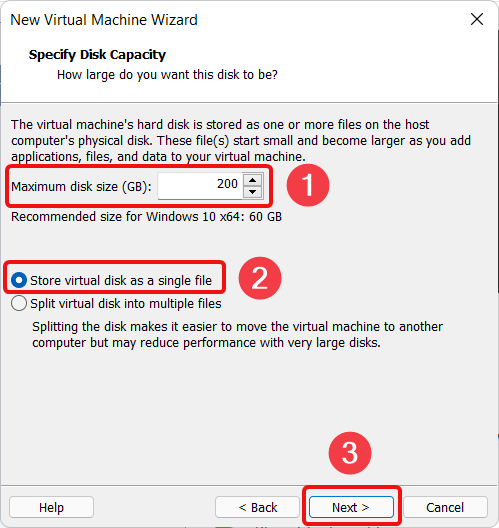
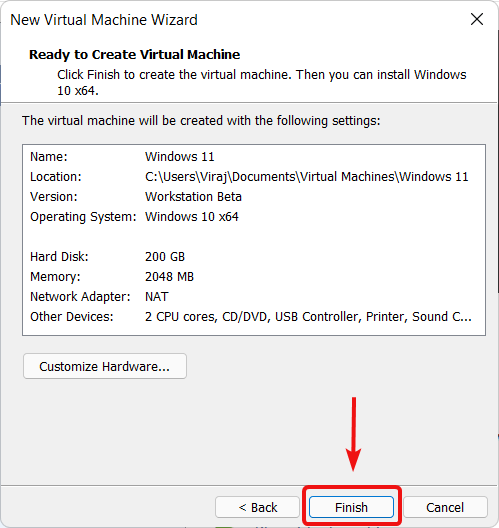
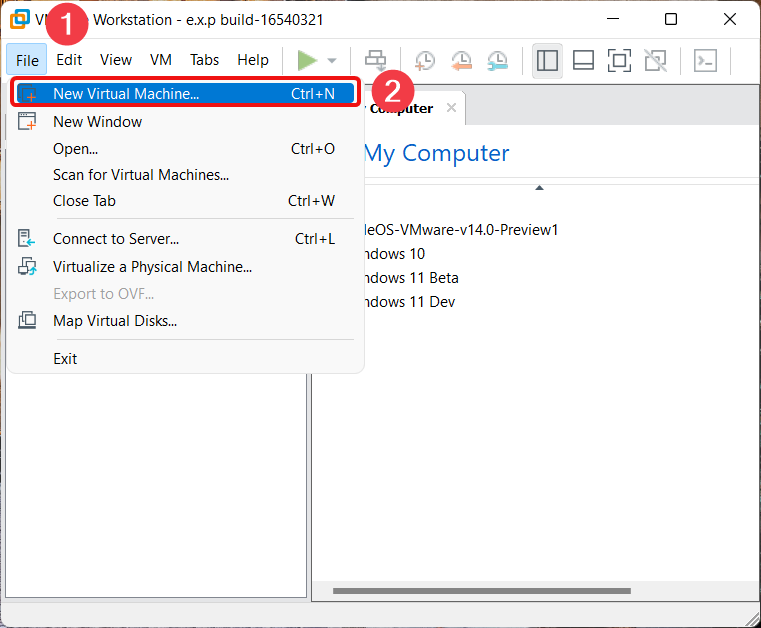
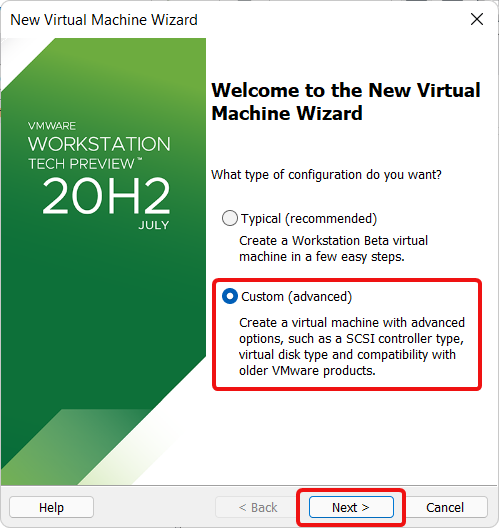
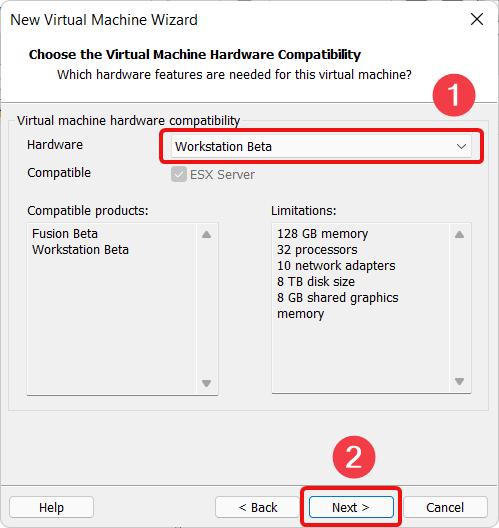
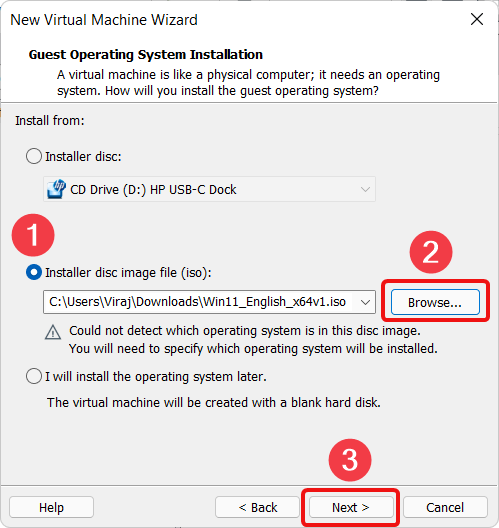
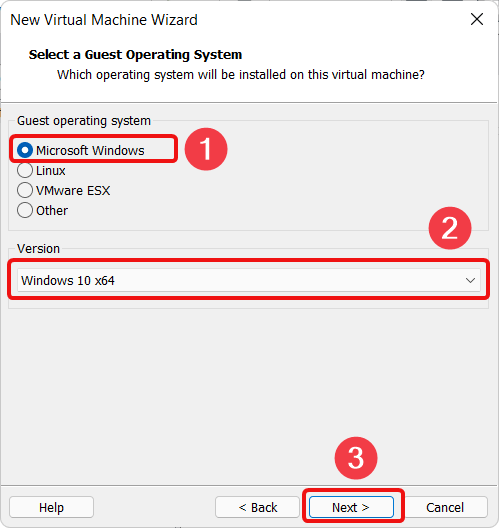
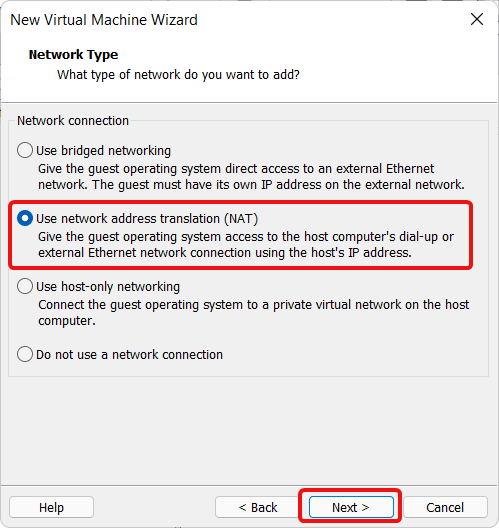
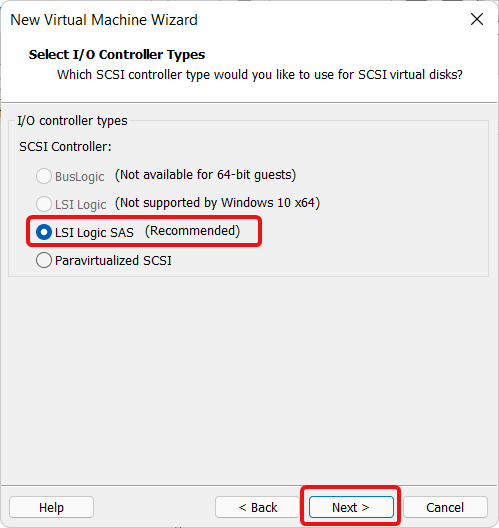
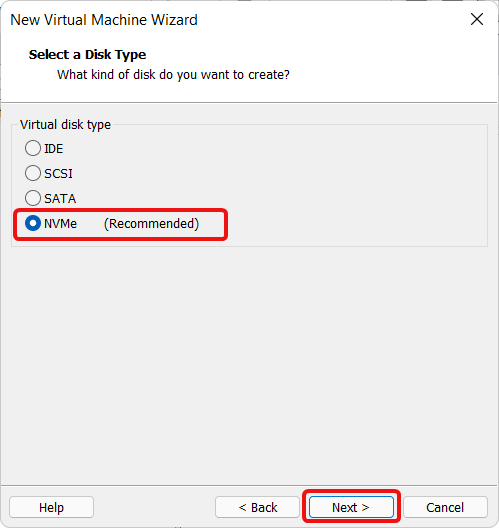
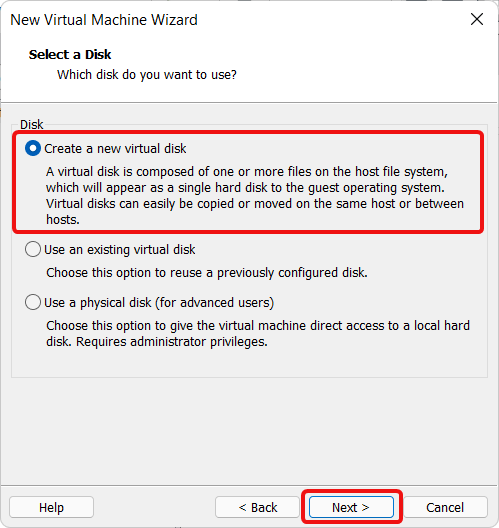
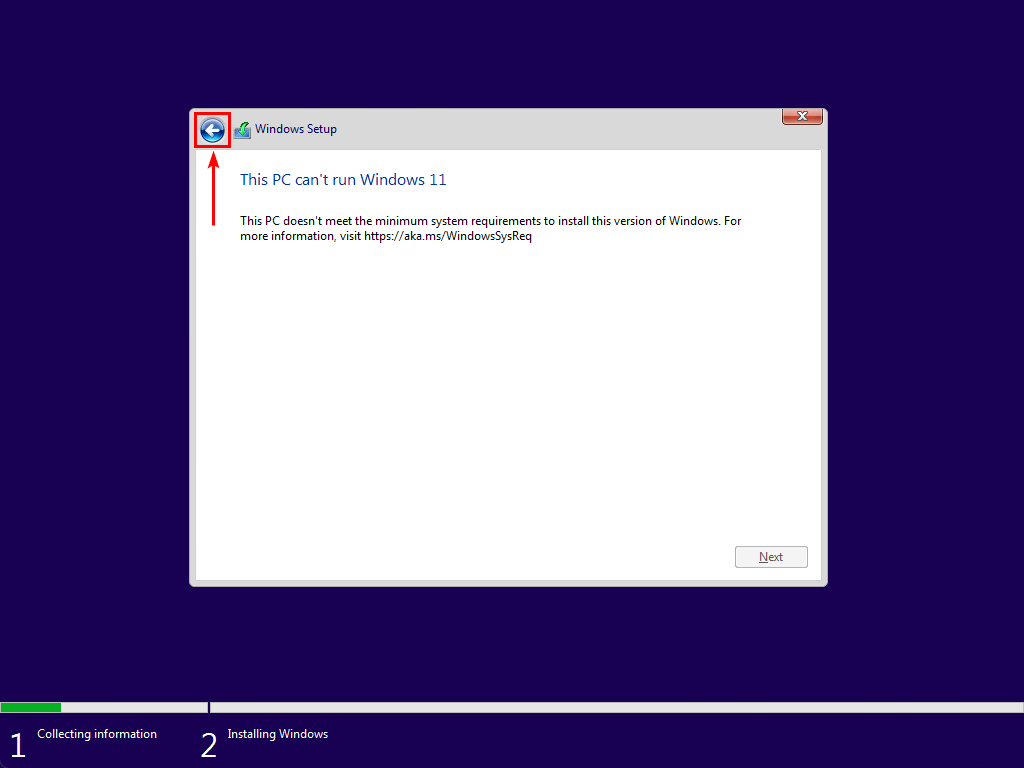
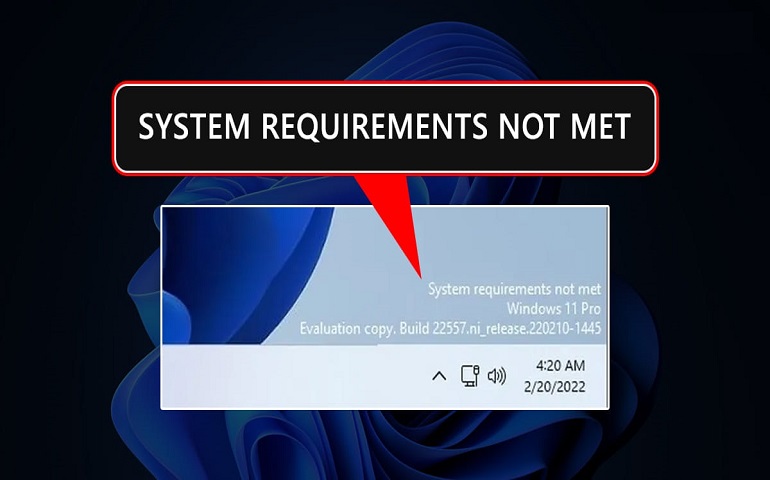
TPM 2.0 is not the only thing Windows 11 checks before the installation. It also verifies CPU and RAM. If your PC doesn’t have the latest generation CPU or possesses less than 4GB of RAM, you will get the above message for that as well. With these restrictions in place, it is hard to run Windows 11 even on a physical system having a bit old hardware, let alone the virtual machine. This guide will help you install Windows 11 on a virtual machine.
Install Windows 11 on Virtual Machine
We have divided the article into two major sections. In the first section, you’ll learn about the configuration needed to run Windows 11 on a VMWare virtual machine. The other section discusses bypassing the ‘This PC can’t run Windows 11’ error while installing Windows on VM.
Necessary Downloads
Did you know? You can boost your productivity using Virtual Desktops in Windows 11
Create Windows 11 Virtual Machine in VMWare Player
Create Windows 11 Virtual Machine in VMWare Workstation Pro
VMWare Player will work fine if you want to create a Windows 11 virtual machine with the downloaded build and don’t care about the future builds. But if you’re going to keep your Windows 11 updated with the latest build, you definitely need VMWare Workstation. VMWare Workstation provides advanced features such as VM encryption, TPM 2.0 module, etc. These features are required by Windows 11 for updation. If you don’t activate TPM 2.0 for a Windows 11 Virtual Machine, the OS won’t let you upgrade to the latest builds, and you can’t test or enjoy the features the updated build has to offer. Another thing to note here is that VMWare Workstation Pro is a licensed product. If you want to try it, you can avail a free trial from VMWare. The complete comparison between VMWare Workstation Pro and Workstation Player is given here.
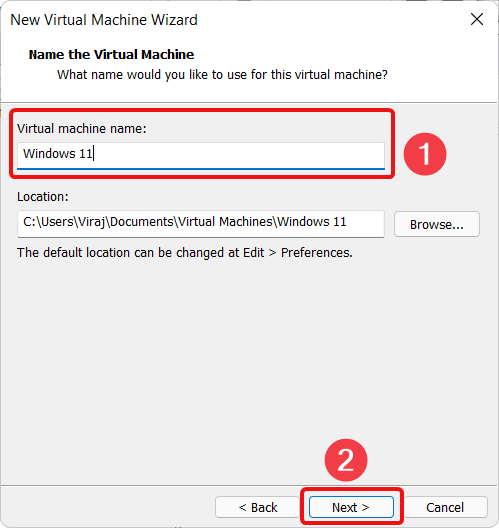
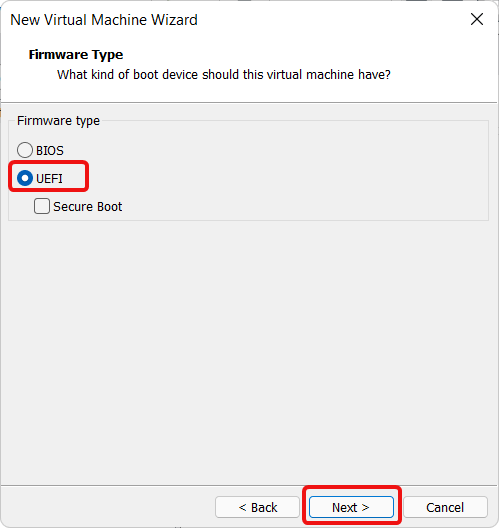
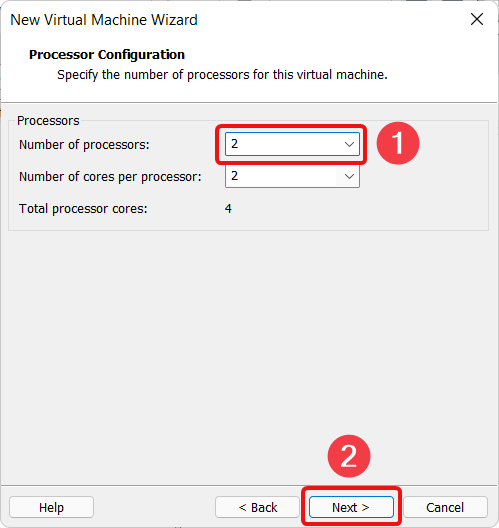
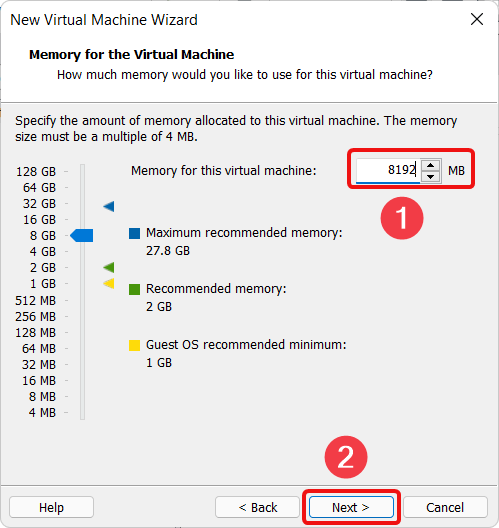
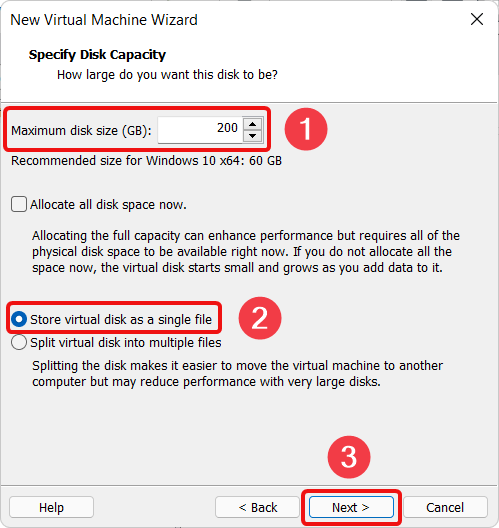
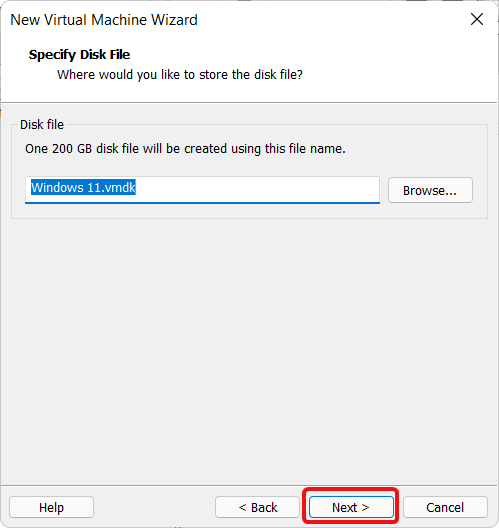
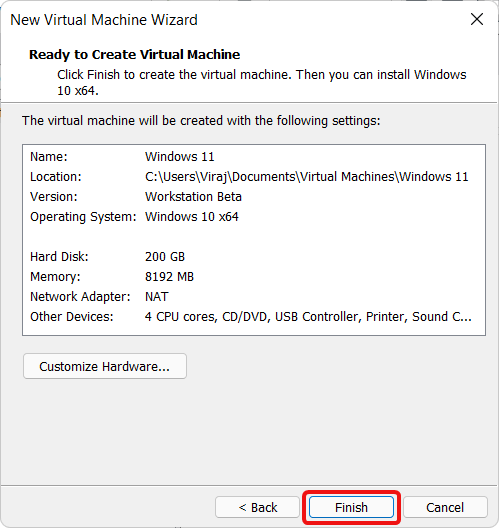
Windows 11 Virtual Machine Creation and Configuration
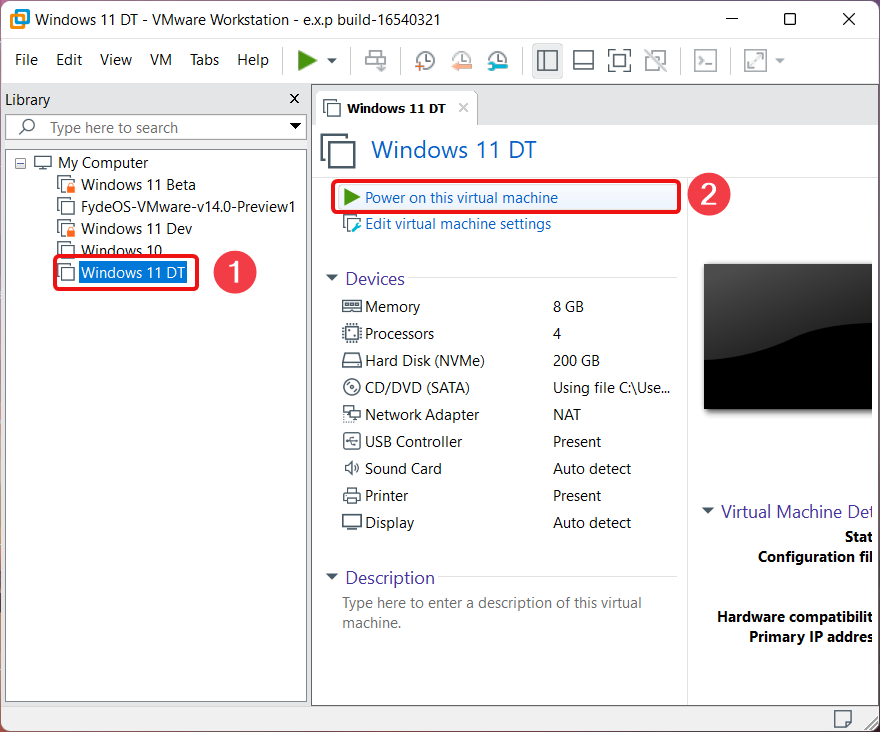
Start Windows 11 Virtual Machine
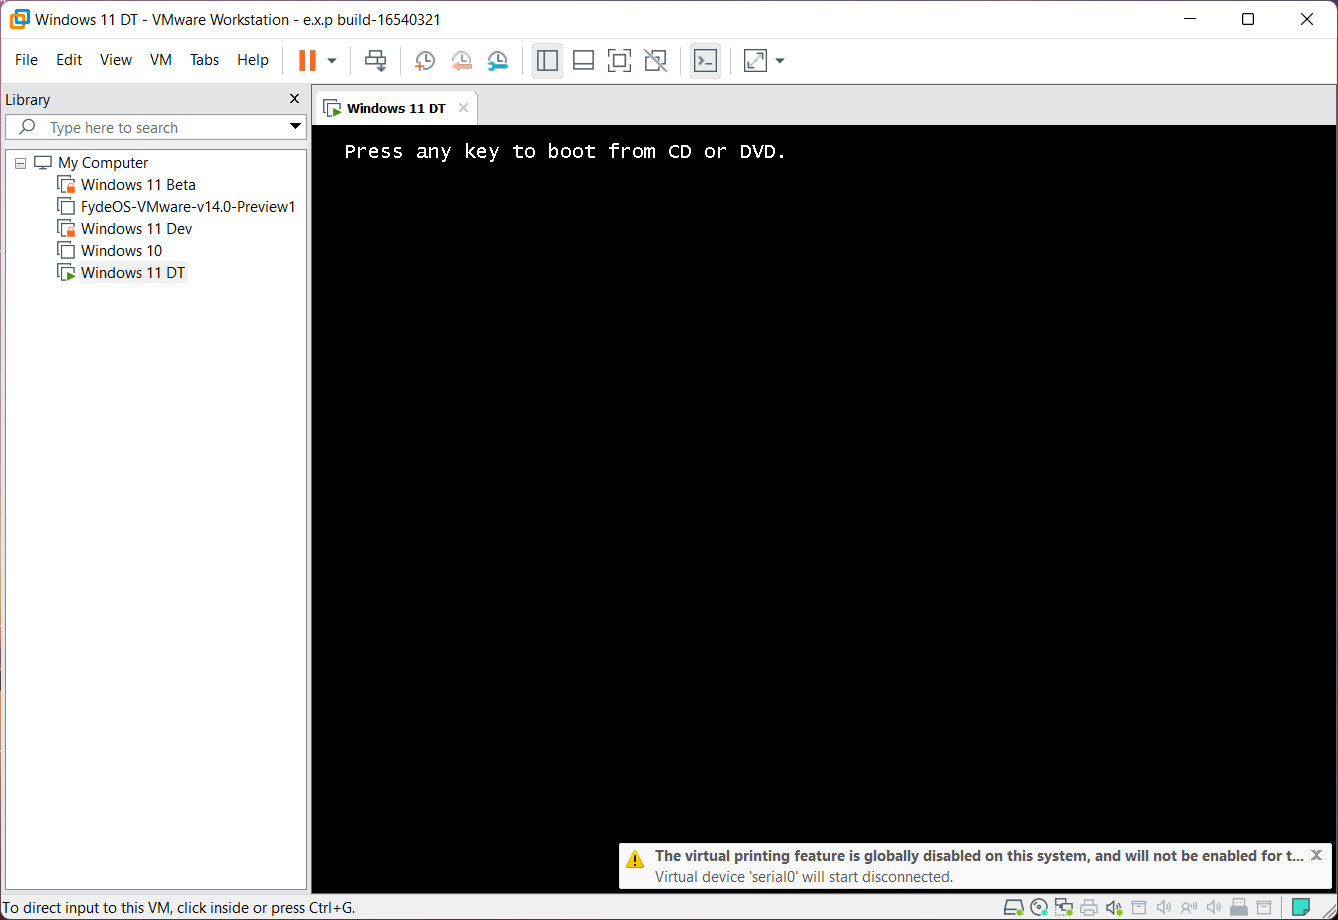
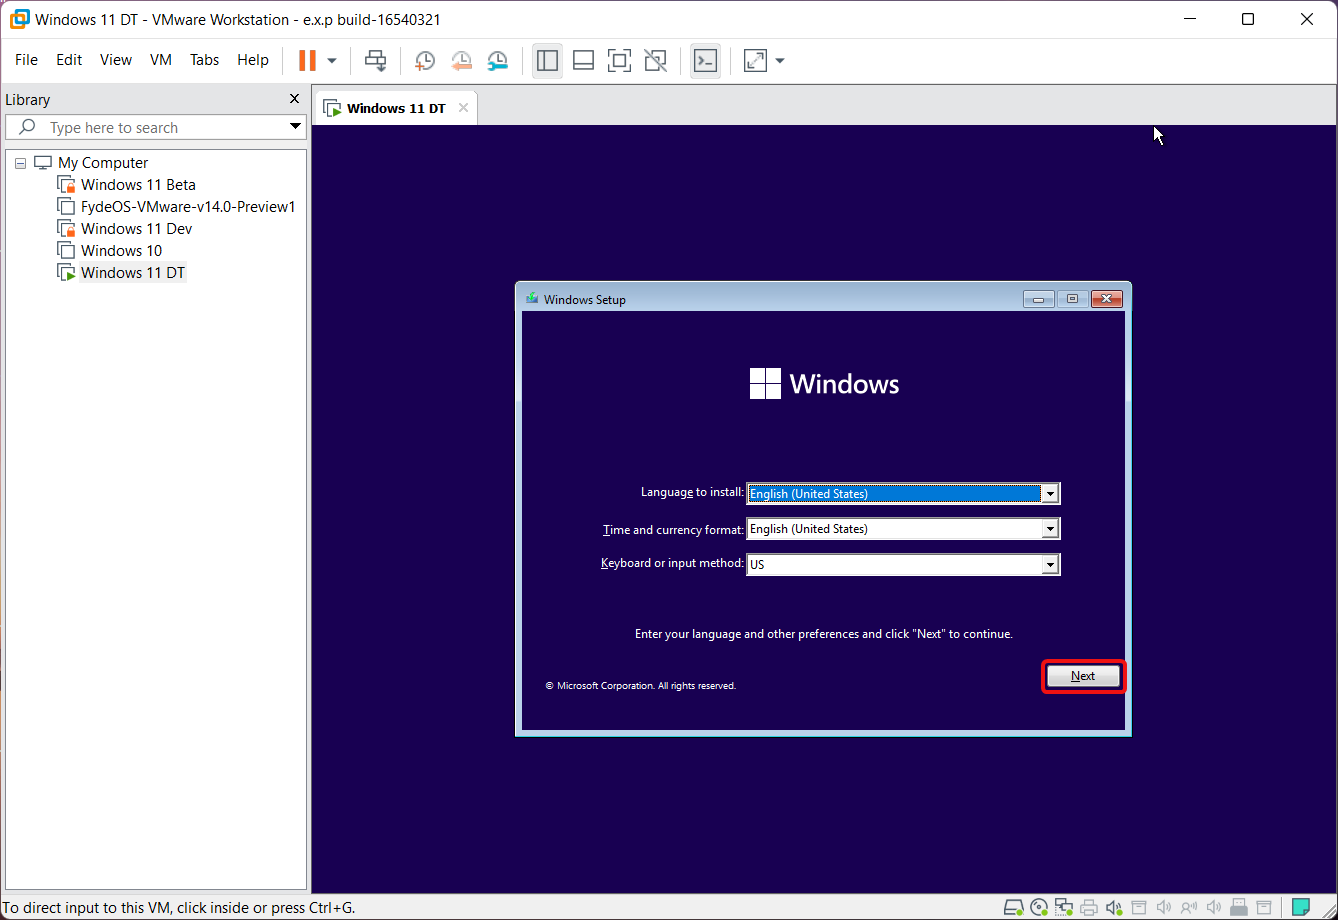
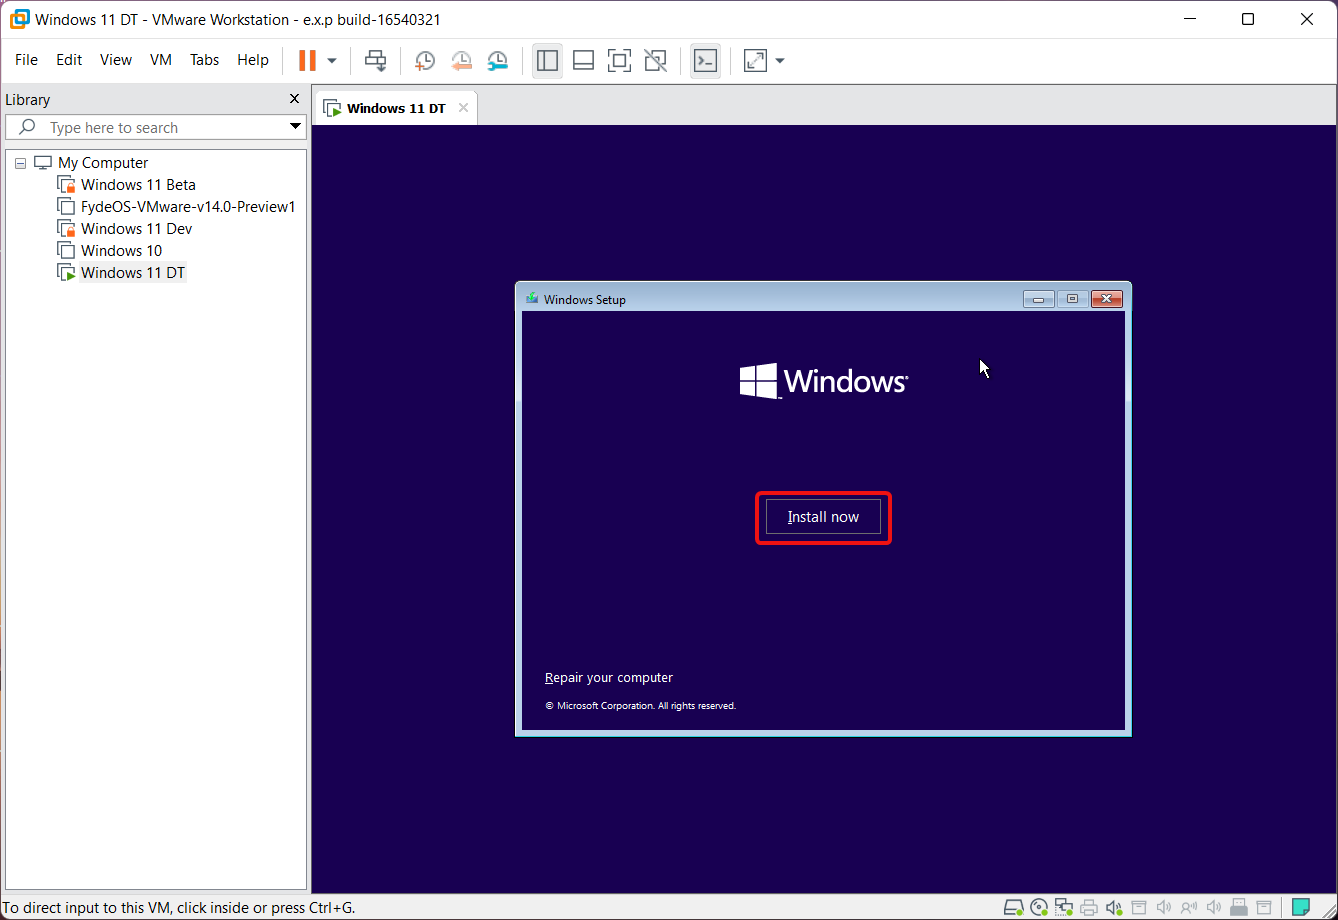
Now that we have created Windows 11 virtual environment let’s boot it and initiate the Windows 11 installation process.
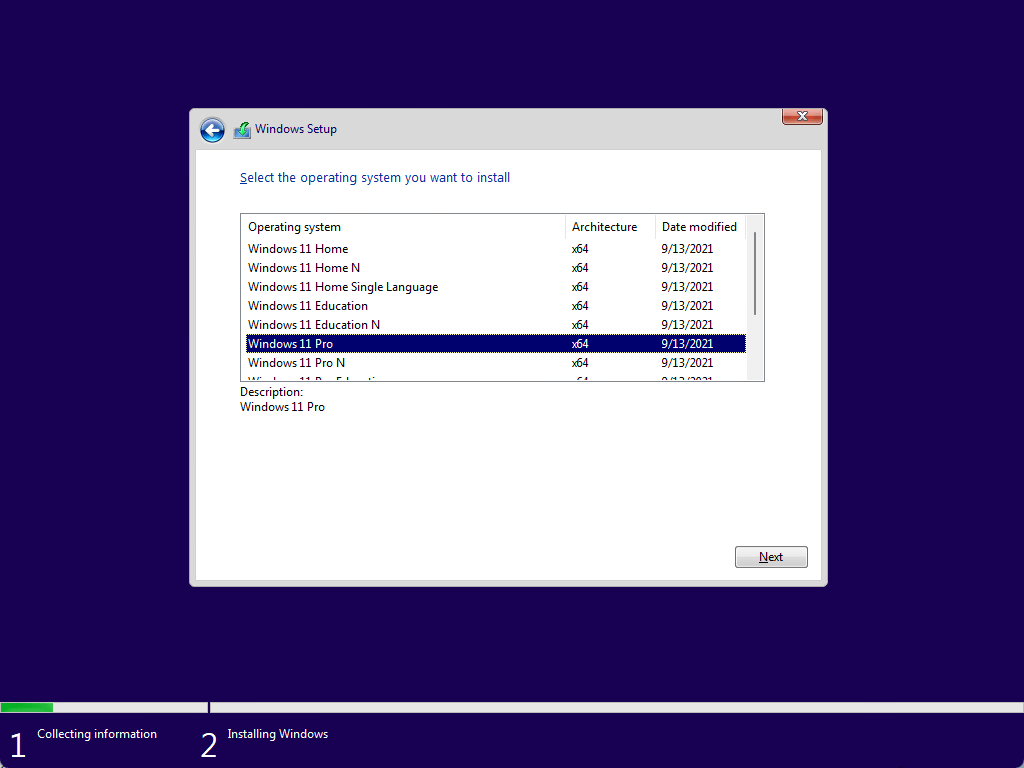
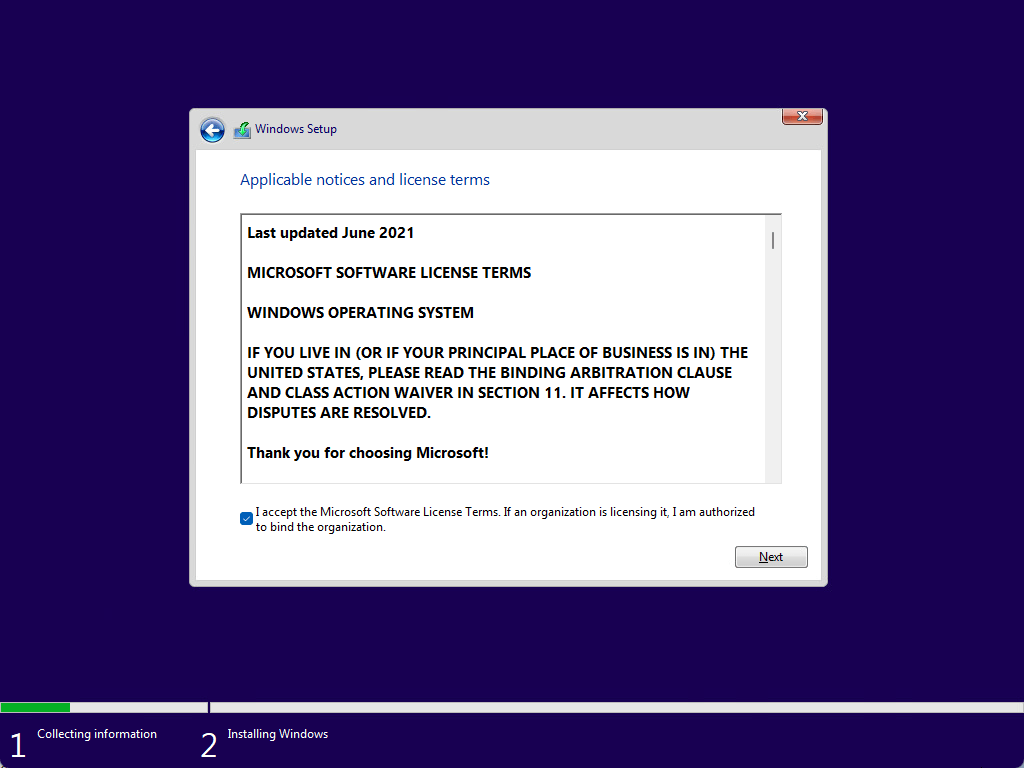
Windows 11 Installation in Virtual Machine Environment
Use Registry to Bypass Windows 11 System Requirements
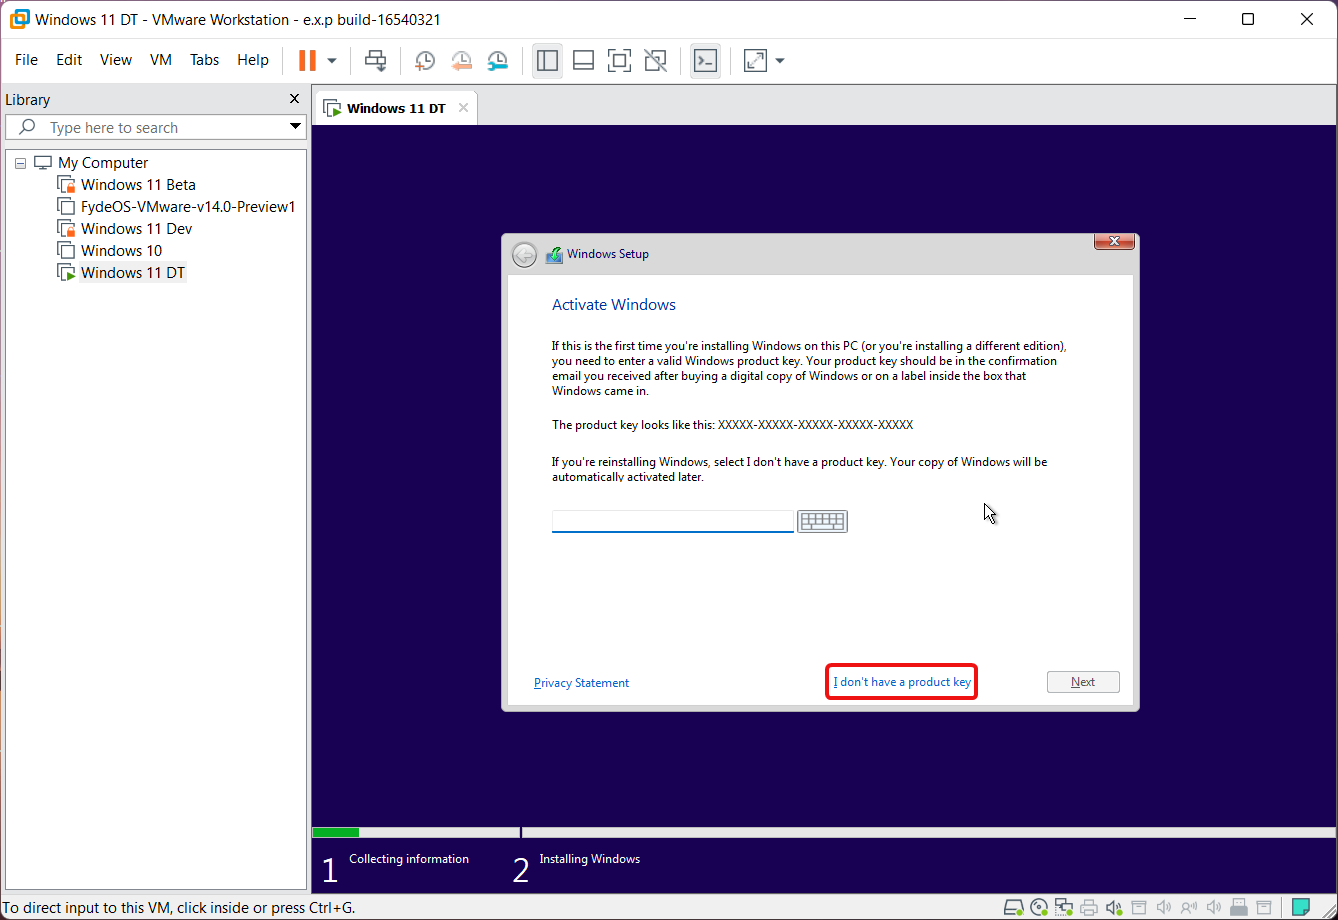
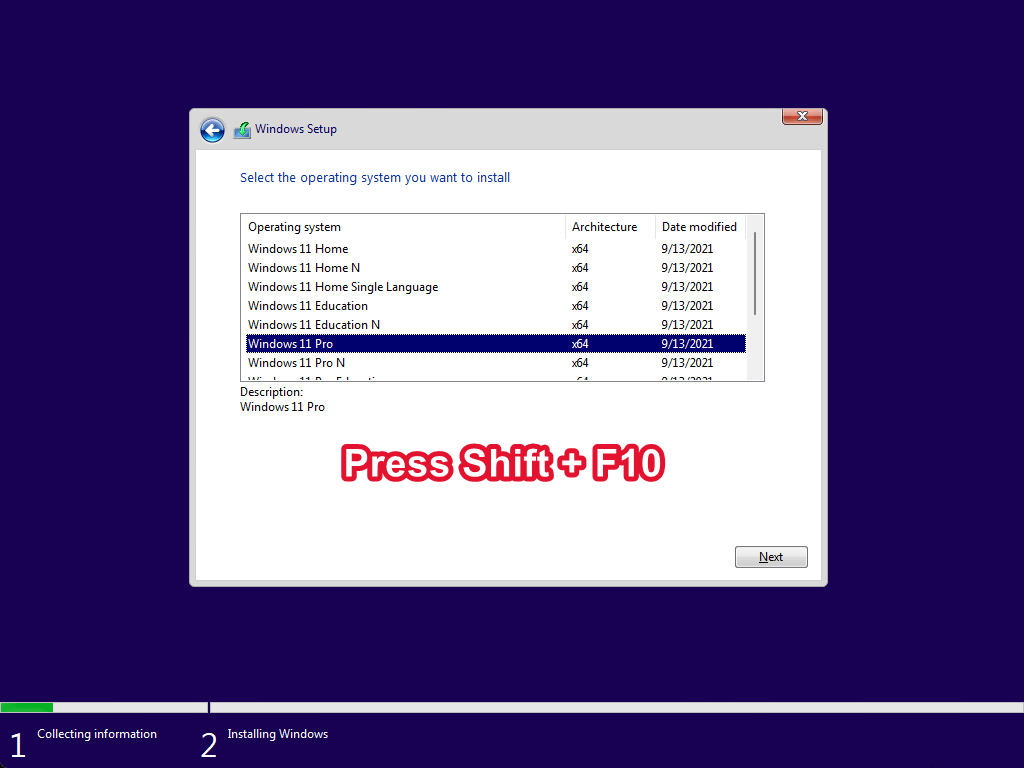
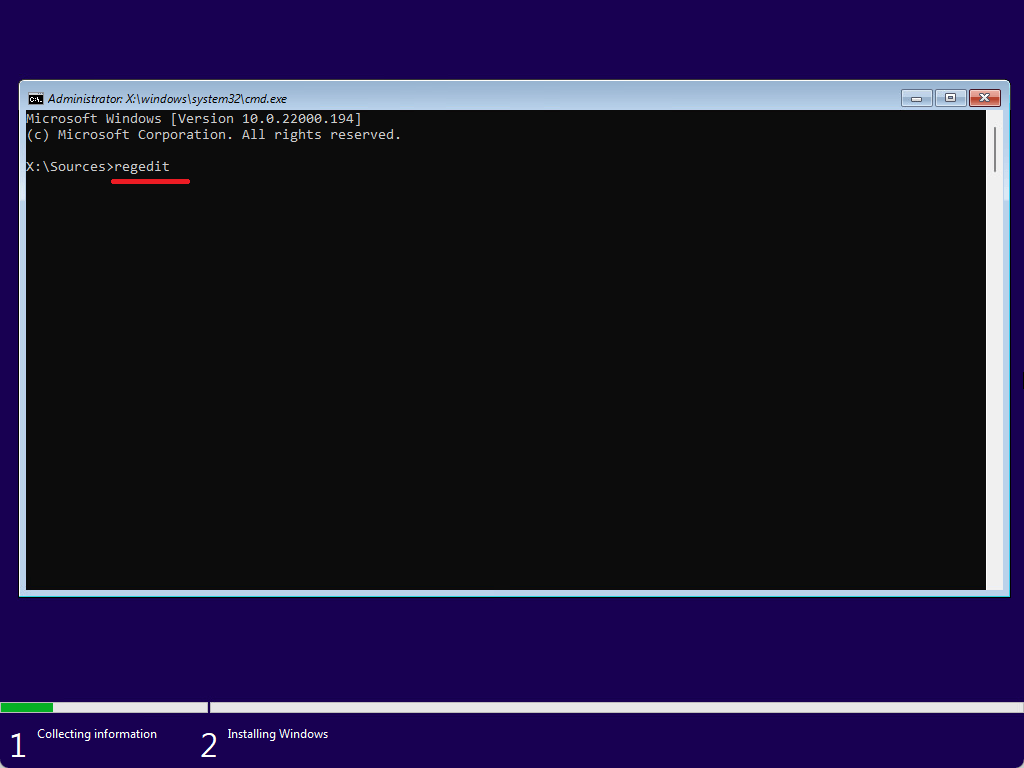
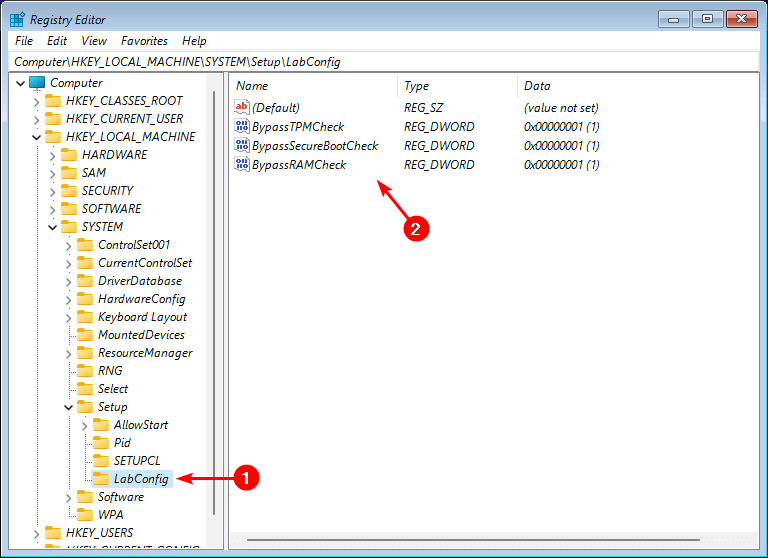
In our previous articles, we have seen that Windows Registry works like magic when bypassing or tweaking things in Windows itself. Bypassing the ‘This PC can’t run Windows 11’ error is also no exception. Over the years, the Windows development community has grown strong, and there is almost nothing that they can’t bypass or solve. In this case, the community has already found a solution to bypass Windows 11 system requirements such as TPM 2.0, CPU, and RAM. So, no matter what system you are running, be it a physical PC or a Hyper-V/VMWare virtual machine, you can easily bypass these requirements using the Windows Registry method. All you need to add is three registry keys, and your job is done. With a continuation of the previous section, follow the steps given below. Interesting Stuff: Use Video as Live wallpaper on Windows 11
BypassTPMCheck BypassSecureBootCheck BypassRAMCheck
Notify me of follow-up comments by email. Notify me of new posts by email.
Δ
