TWRP (TeamWin Recovery Project) is a custom recovery developed by TeamWin for Android devices. It allows users to install third-party custom ROMs, kernels, and mods like Magisk or Xposed. In addition to that, it also helps to root Android, wipe device partitions, and backup the entire system. This recovery provides a fully touchscreen-enabled interface for Android. Due to its countless advantages over CWM (ClockworkMod), it soon became available for other smartphones and tablets. But as all Android devices are not the same, TWRP is built differently for each device. Hence this recovery is available in both official and unofficial builds. And since TWRP is an open-source project, it is quite easy for developers to compile an unofficial TWRP recovery build.
How to Install TWRP Recovery using CMD
Before moving further, we recommend backup your data, including contacts, apps, call logs, messages, notes, etc. This is because there is a chance of your data getting wiped out during this process. Let’s proceed to our tutorial on how to install TWRP without ROOT on any Android smartphone or tablet without waiting anymore.
Disclaimer
We at Droid Thunder will not be liable for any damage caused by following this article. Perform every step at your own risk.
Requirements
After doing everything mentioned above, let’s start the process of installing TWRP without Root.
Downloads
TWRP Recovery
Steps to install TWRP recovery using ADB and Fastboot
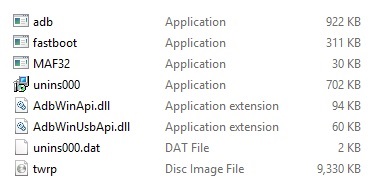
Download the latest TWRP recovery.img file on your PC from the link given above. Rename your TWRP recovery filename to twrp.img. For example, if your recovery file has name ‘twrp-3.1.1-1-j5lte.img’, then rename it to ‘twrp.img’. Copy this recovery.img file to the location C:\Program Files\Minimal ADB and Fastboot folder (where you’ve installed the ADB and fastboot). So you’ll have these files in the ADB and Fastboot folder:
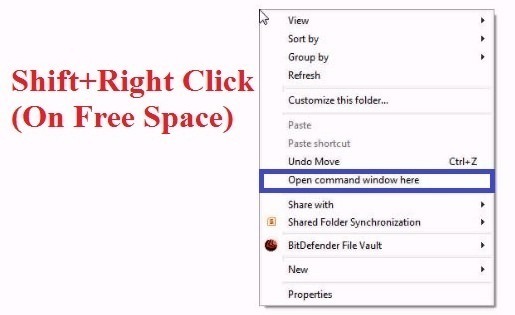
Note: Files may differ from those shown in the image. Using a standard USB cable, connect your Android device to a PC. Now go to C:\Program Files\Minimal ADB and Fastboot folder, hold the Shift button, and right-mouse click on space. You’ll see a list of options from which select the Open command window here option.
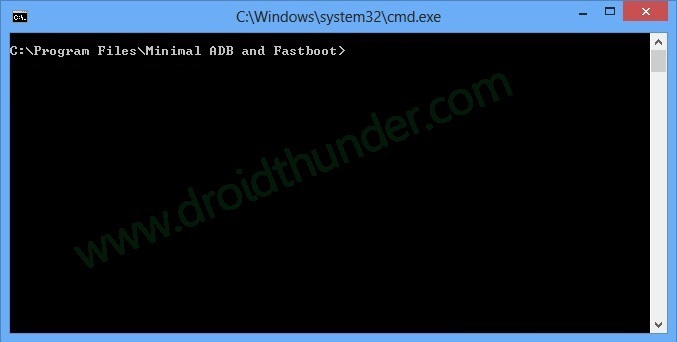
This will launch a command prompt window (cmd) on your PC.
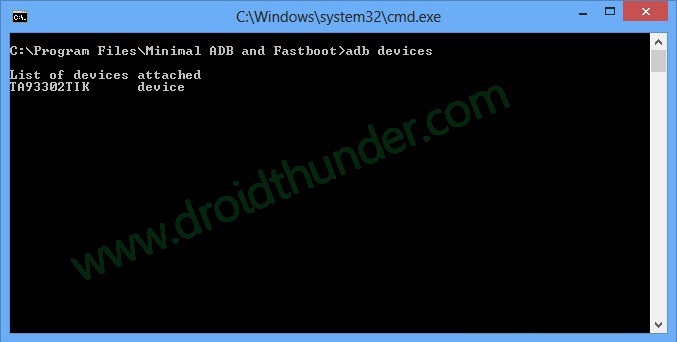
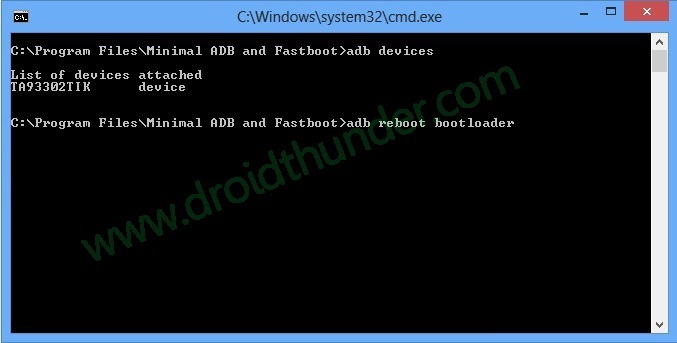
Let us check whether your Android device is successfully connected to a PC or not. For that, type the following command in the command window and hit the enter key:
adb devices
As soon as you press the enter key, you’ll see a message saying ‘List of devices attached’ along with random numbers. This will confirm that your Android device is successfully connected to the PC.
If such a thing doesn’t happen, then re-install USB drivers on your PC. If the problem persists, change the USB cable or PC. Then boot your Android device into fastboot/bootloader mode. To do so, type the following command in the cmd window and hit the enter key:
adb reboot bootloader
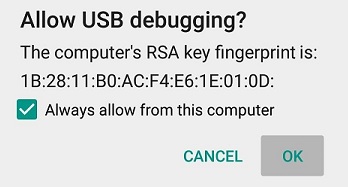
If you get a permission pop-up on your device to “Allow USB debugging”, tap OK.
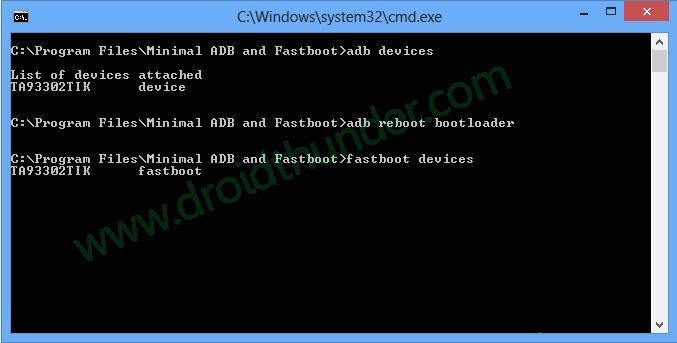
This will boot your device into fastboot/bootloader mode. Then type the following command to check whether fastboot is functional or not:
fastboot devices
Some random numbers and the ‘List of devices attached’ message will confirm that fastboot is functional.
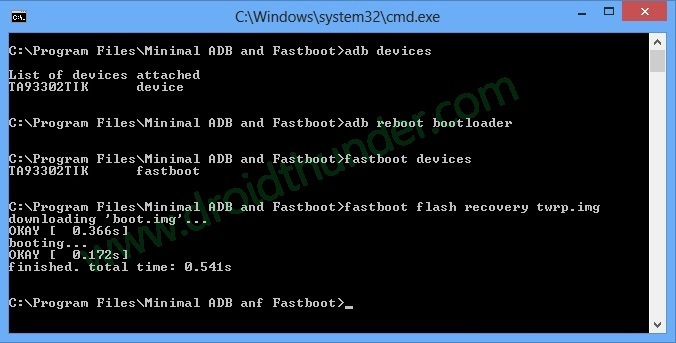
Let’s install TWRP recovery now. To do so, type the following command and hit the enter key:
fastboot flash recovery twrp.img
This command will install TWRP recovery on your Android phone. It will hardly complete in a few seconds.
Once TWRP is successfully flashed on your Android phone, type this final command to reboot your device:
fastboot reboot
Conclusion
Finally! This is how you can install TWRP without Root on Android smartphones and tablets. With this custom recovery, you can flash custom ROMs, root your phone, flash kernel, mods, take Nandroid backup, and do much more. If you have any questions related to this guide, then kindly comment below. Source Notify me of follow-up comments by email. Notify me of new posts by email.
Δ